File uploading is the process of transmitting the binary or normal files to the server. Flask facilitates us to upload the files easily. All we need to have an HTML form with the encryption set to multipart/form-data.
The server-side flask script fetches the file from the request object using request.files[] Object. On successfully uploading the file, it is saved to the desired location on the server.
The uploaded file is saved to the temporary directory of the server for a while before it is saved to some desired location. The name of the destination file can be obtained using the following syntax.
name = request.files['file'].filename However, we can mention the path of the folder where the file is to be uploaded to the server and the maximum size of the uploaded file. This all can be done in the configuration settings of the flask object.
| SN | Syntax | Description |
|---|---|---|
| 1 | app.config[‘UPLOAD_FOLDER’] | It is used to mention the upload folder. |
| 2 | app.config[‘MAX_CONTENT-PATH’] | It is used to mention the maximum size of the file to be uploaded. |
Consider the following example to upload a file from the local file system to the server.
Example
In this example, we will provide a file selector(file_upload_form.html) to the user where the user can select a file from the file system and submit it to the server.
At the server side, the file is fetched using the request.files[‘file’] object and saved to the location on the server.
Since we are using the development server on the same device, hence the file will be uploaded to the directory from where the flask script upload.py is executed.
upload.py
from flask import *

app = Flask(__name__)


@app.route('/')

def upload():

    return render_template("file_upload_form.html")


@app.route('/success', methods = ['POST'])

def success():

    if request.method == 'POST':

        f = request.files['file']

        f.save(f.filename)

        return render_template("success.html", name = f.filename)


if __name__ == '__main__':

    app.run(debug = True)
file_upload_form.html
- <html>
- <head>
- <title>upload</title>
- </head>
- <body>
- <form action = "/success" method = "post" enctype="multipart/form-data">
- <input type="file" name="file" />
- <input type = "submit" value="Upload">
- </form>
- </body>
- </html>
success.html
<html>

<head>

<title>success</title>

</head>

<body>

<p>File uploaded successfully</p>

<p>File Name: {{name}}</p>

</body>

</html>
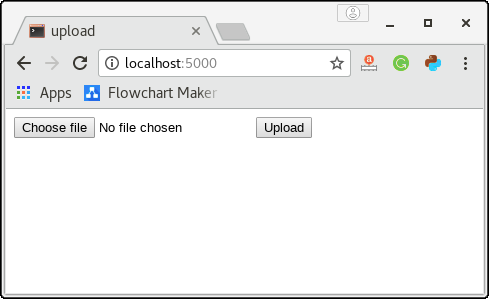
An HTML form is shown to the user so that the user can browse the file system for the file which will be uploaded to the development server.

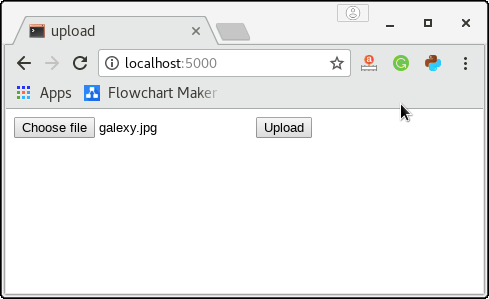
Here, the user has chosen a file named as galexy.jpg which will be uploaded to the server.

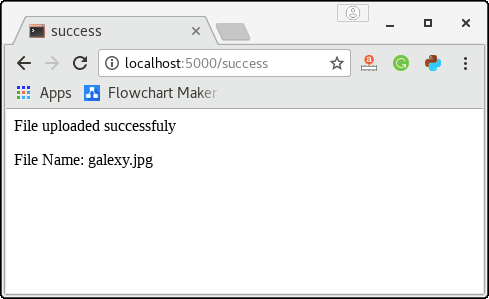
The below snapshot is generated for the URL localhost:5000/success. On successfully uploading the file, a success message is shown to the user with the name of the uploaded file.

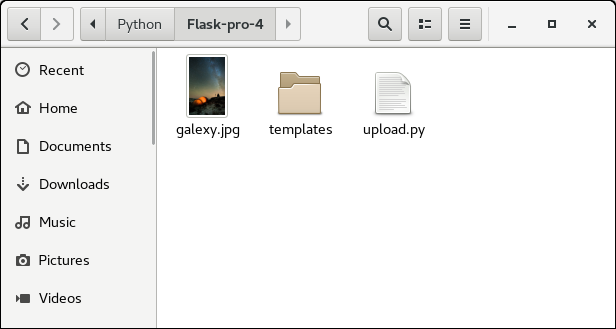
We can confirm this by checking into the directory where the upload.py is located as given in the below image.

Leave a Reply