In the client-server architecture, the request object contains all the data that is sent from the client to the server. As we have already discussed in the tutorial, we can retrieve the data at the server side using the HTTP methods.
In this section of the tutorial, we will discuss the Request object and its important attributes that are given in the following table.
| SN | Attribute | Description |
|---|---|---|
| 1 | Form | It is the dictionary object which contains the key-value pair of form parameters and their values. |
| 2 | args | It is parsed from the URL. It is the part of the URL which is specified in the URL after question mark (?). |
| 3 | Cookies | It is the dictionary object containing cookie names and the values. It is saved at the client-side to track the user session. |
| 4 | files | It contains the data related to the uploaded file. |
| 5 | method | It is the current request method (get or post). |
Form data retrieval on the template
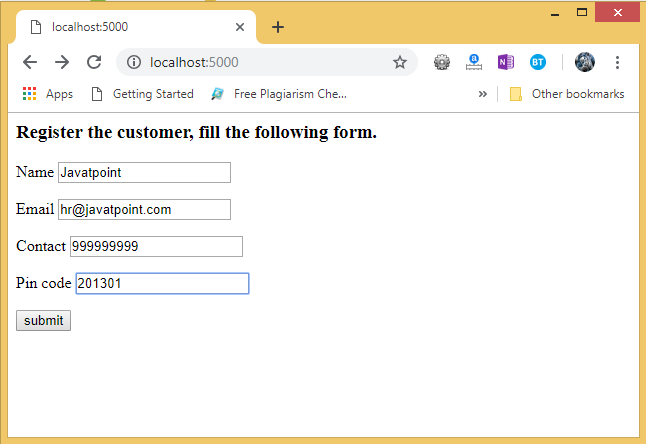
In the following example, the / URL renders a web page customer.html that contains a form which is used to take the customer details as the input from the customer.
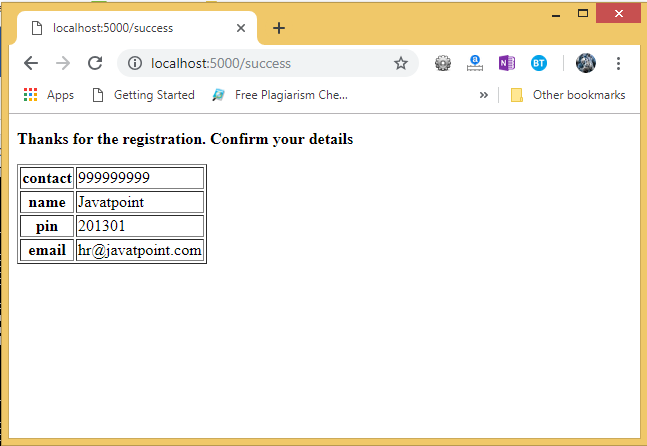
The data filled in this form is posted to the /success URL which triggers the print_data() function. The print_data() function collects all the data from the request object and renders the result_data.html file which shows all the data on the web page.
The application contains three files, i.e., script.py, customer.html, and result_data.html.
script.py
from flask import *

app = Flask(__name__)


@app.route('/')

def customer():

   return render_template('customer.html')


@app.route('/success',methods = ['POST', 'GET'])

def print_data():

   if request.method == 'POST':

      result = request.form

      return render_template("result_data.html",result = result)


if __name__ == '__main__':

   app.run(debug = True)
customer.html
<html>

   <body>

       <h3>Register the customer, fill the following form.</h3>

      <form action = "http://localhost:5000/success" method = "POST">

         <p>Name <input type = "text" name = "name" /></p>

         <p>Email <input type = "email" name = "email" /></p>

         <p>Contact <input type = "text" name = "contact" /></p>

         <p>Pin code <input type ="text" name = "pin" /></p>

         <p><input type = "submit" value = "submit" /></p>

      </form>

   </body>

</html>
result_data.html
- <!doctype html>
- <html>
- <body>
- <p><strong>Thanks for the registration. Confirm your details</strong></p>
- <table border = 1>
- {% for key, value in result.items() %}
- <tr>
- <th> {{ key }} </th>
- <td> {{ value }} </td>
- </tr>
- {% endfor %}
- </table>
- </body>
- </html>
To run this application, we must first run the script.py file using the command python script.py. This will start the development server on localhost:5000 which can be accessed on the browser as given below.

Now, hit the submit button. It will transfer to the /success URL and shows the data entered at the client.

Leave a Reply