Maintained by Colin Duquesnoy, the Open COBOL IDE is available at the software.informer webpage and not only has a syntax highlighting but also a code finishing feature.
So, where do you get access to the Open COBOL IDE executable?
Step 1: Download COBOL IDE
- Do a Google Search for Open COBOL IDE. Download the executable file from this link.
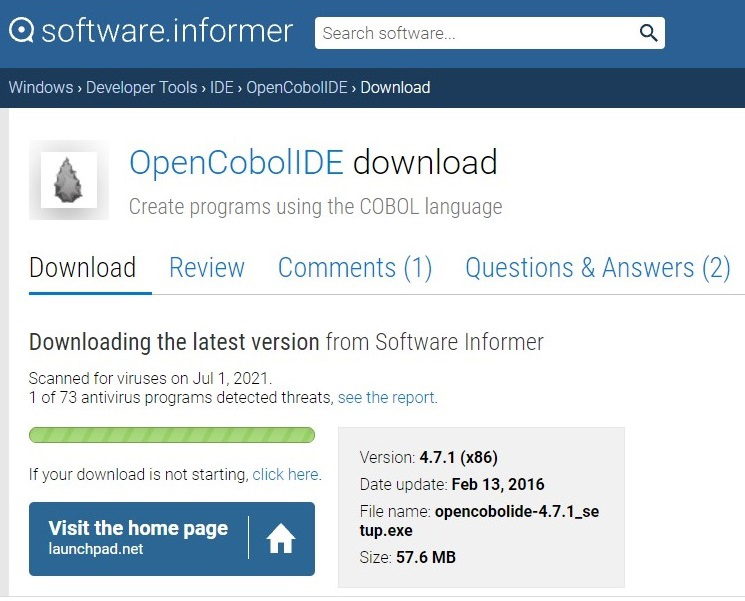
Download Open COBOL IDE from the software.informer website
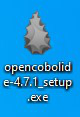
Step 2: Run the Open COBOL IDE executable file.
- Right-click and begin the installation of the Open COBOL IDE executable file, as shown in the image below:
- Once you do this, you’ll open the Setup Wizard as shown in the result below.
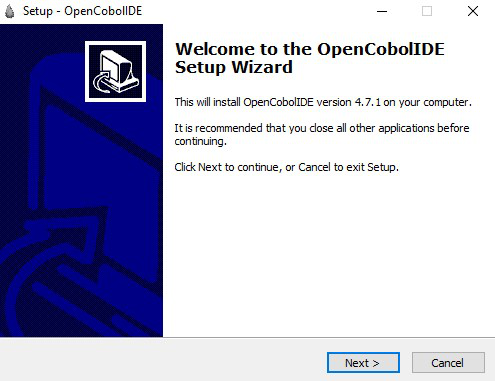
Follow the Open COBOL IDE WIzard
Step 3: Accept the Terms and Conditions of the License Agreement.
- As soon as you click “Next”, the License Agreement dialog box opens up. Please select “I accept the agreement” and click Next, as shown below:
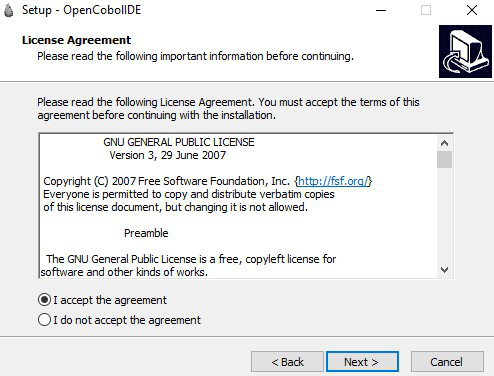
Accept the Open COBOL IDE License Agreement
Step 4: Select the Destination Location.
- Setup automatically selects a folder so as to install the COBOL IDE. You can customize the Destination Location by adding a path of your own. Once you do this, select Next.
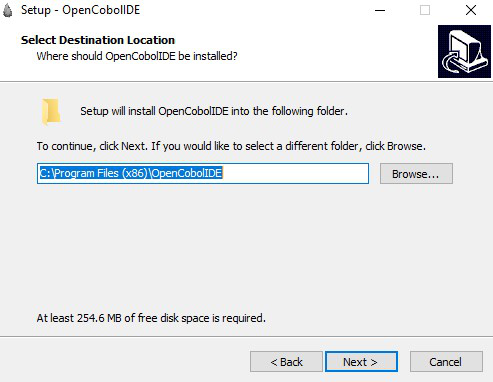
Enter Destination Location for COBOL program files
Step 5: Select the Start Menu Folder
- This option creates the program’s shortcuts in the Start Menu folder. If you so wish, you can select the “Don’t create a Start Menu folder” and avoid this step altogether. Click Next to proceed to the following step.
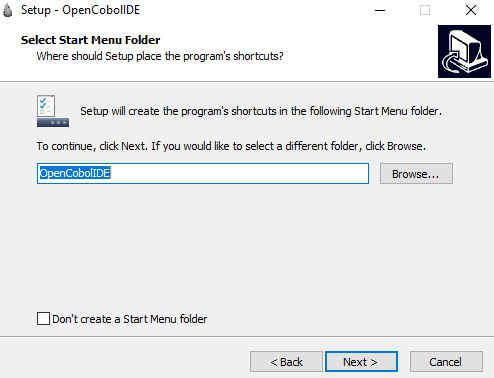
Select Start Menu Folder for Open COBOL IDE
Step 6: Begin the Open COBOL IDE Installation
Once you have selected all the options, this step involves installing the IDE based on your selection. As you can see in the screenshot below, selections have been made to add the Destination Location, Start Menu folder and Additional tasks too. Click Install.
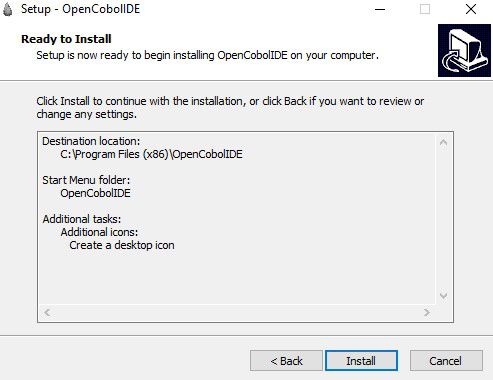
Begin Open COBOL IDE installation
Step 7: Finish the installation and launch the Open COBOL IDE
- Once the installation is complete, you can either launch Open Cobol IDE or not. Click Finish.
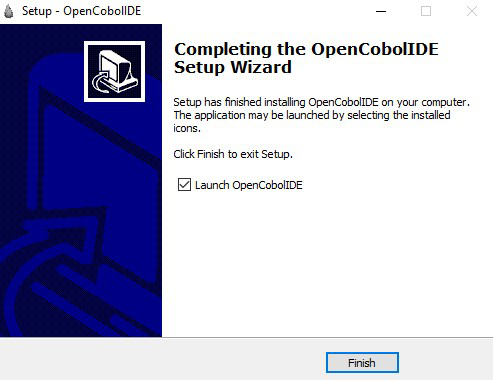
Open COBOL IDE Setup Completion
Step 8: Open the Open COBOL IDE
- Get started with the Open COBOL IDE by selecting the New File option.
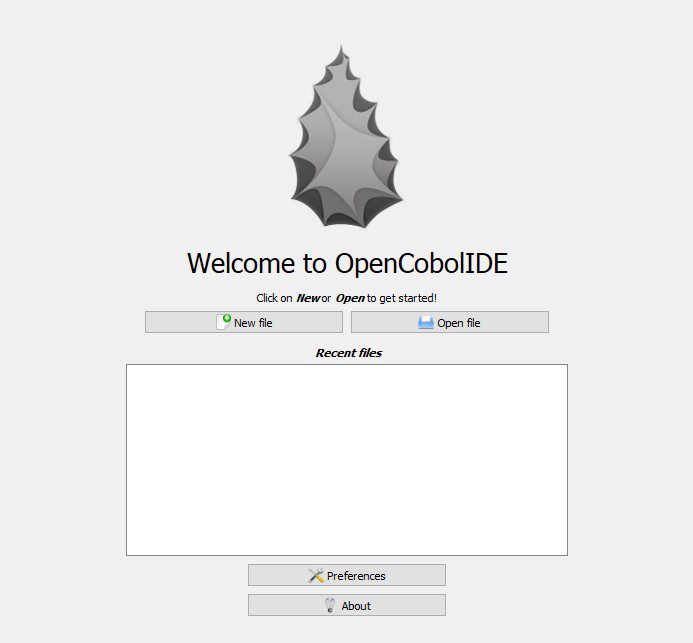
Welcome to Open COBOL IDE screen
Step 9: Start writing your first COBOL program
- Key in helloworld and select OK.
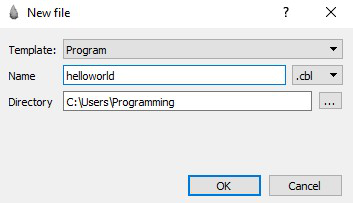
Open the “helloworld” COBOL program
Step 10: Run your very first COBOL program
Copy and paste the following Hello World code and hit the green “Play” button, as shown below:

******************************************************************
* Author: Your Name
* Date: October 18, 2021
* Purpose: Display the string "Hello World"
* Tectonics: cobc
******************************************************************
IDENTIFICATION DIVISION.
PROGRAM-ID. HELLO-WORLD.
ENVIRONMENT DIVISION.
DATA DIVISION.
FILE SECTION.
WORKING-STORAGE SECTION.
PROCEDURE DIVISION.
MAIN-PROCEDURE.
   DISPLAY "Hello world"
   STOP RUN.
END PROGRAM HELLO-WORLD.
Output:
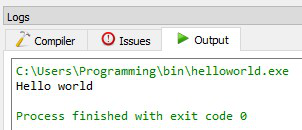
Hello world Program Output
Conclusion:
Once you have completed these ten steps, you can repeat steps eight to ten in order to write other COBOL programs that you might have in mind. As for the installation of COBOL on your system, it’s complete.
Last but not the least, if you want to know more about the Open COBOL IDE, hit the F1 key or else select the Help option from the menu below:
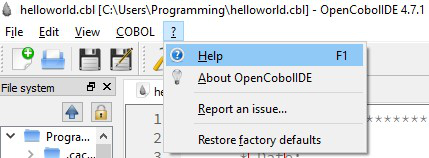
Use the Help Option – Open COBOL IDE
Summer-time is here and so is the time to skill-up! More than 5,000 learners have now completed their journey from basics of DSA to advanced level development programs such as Full-Stack, Backend Development, Data Science.
Leave a Reply